
Savoring summer’s heat all year long —with a spicy little recipe worth sharing.
A Little HEAT before the Frost
Sometimes the smallest things in the garden deliver the biggest surprises. Take our Thai chili peppers, for example. Growing happily in pots with only about five hours of midday sunshine, these little firecrackers have rewarded us with a surprisingly generous harvest!
Our garden doesn’t enjoy the luxury of all-day sunshine, so I’ve learned to make the most of the sunny spots we do have. Apparently, our Thai peppers are perfectly happy with the arrangement.
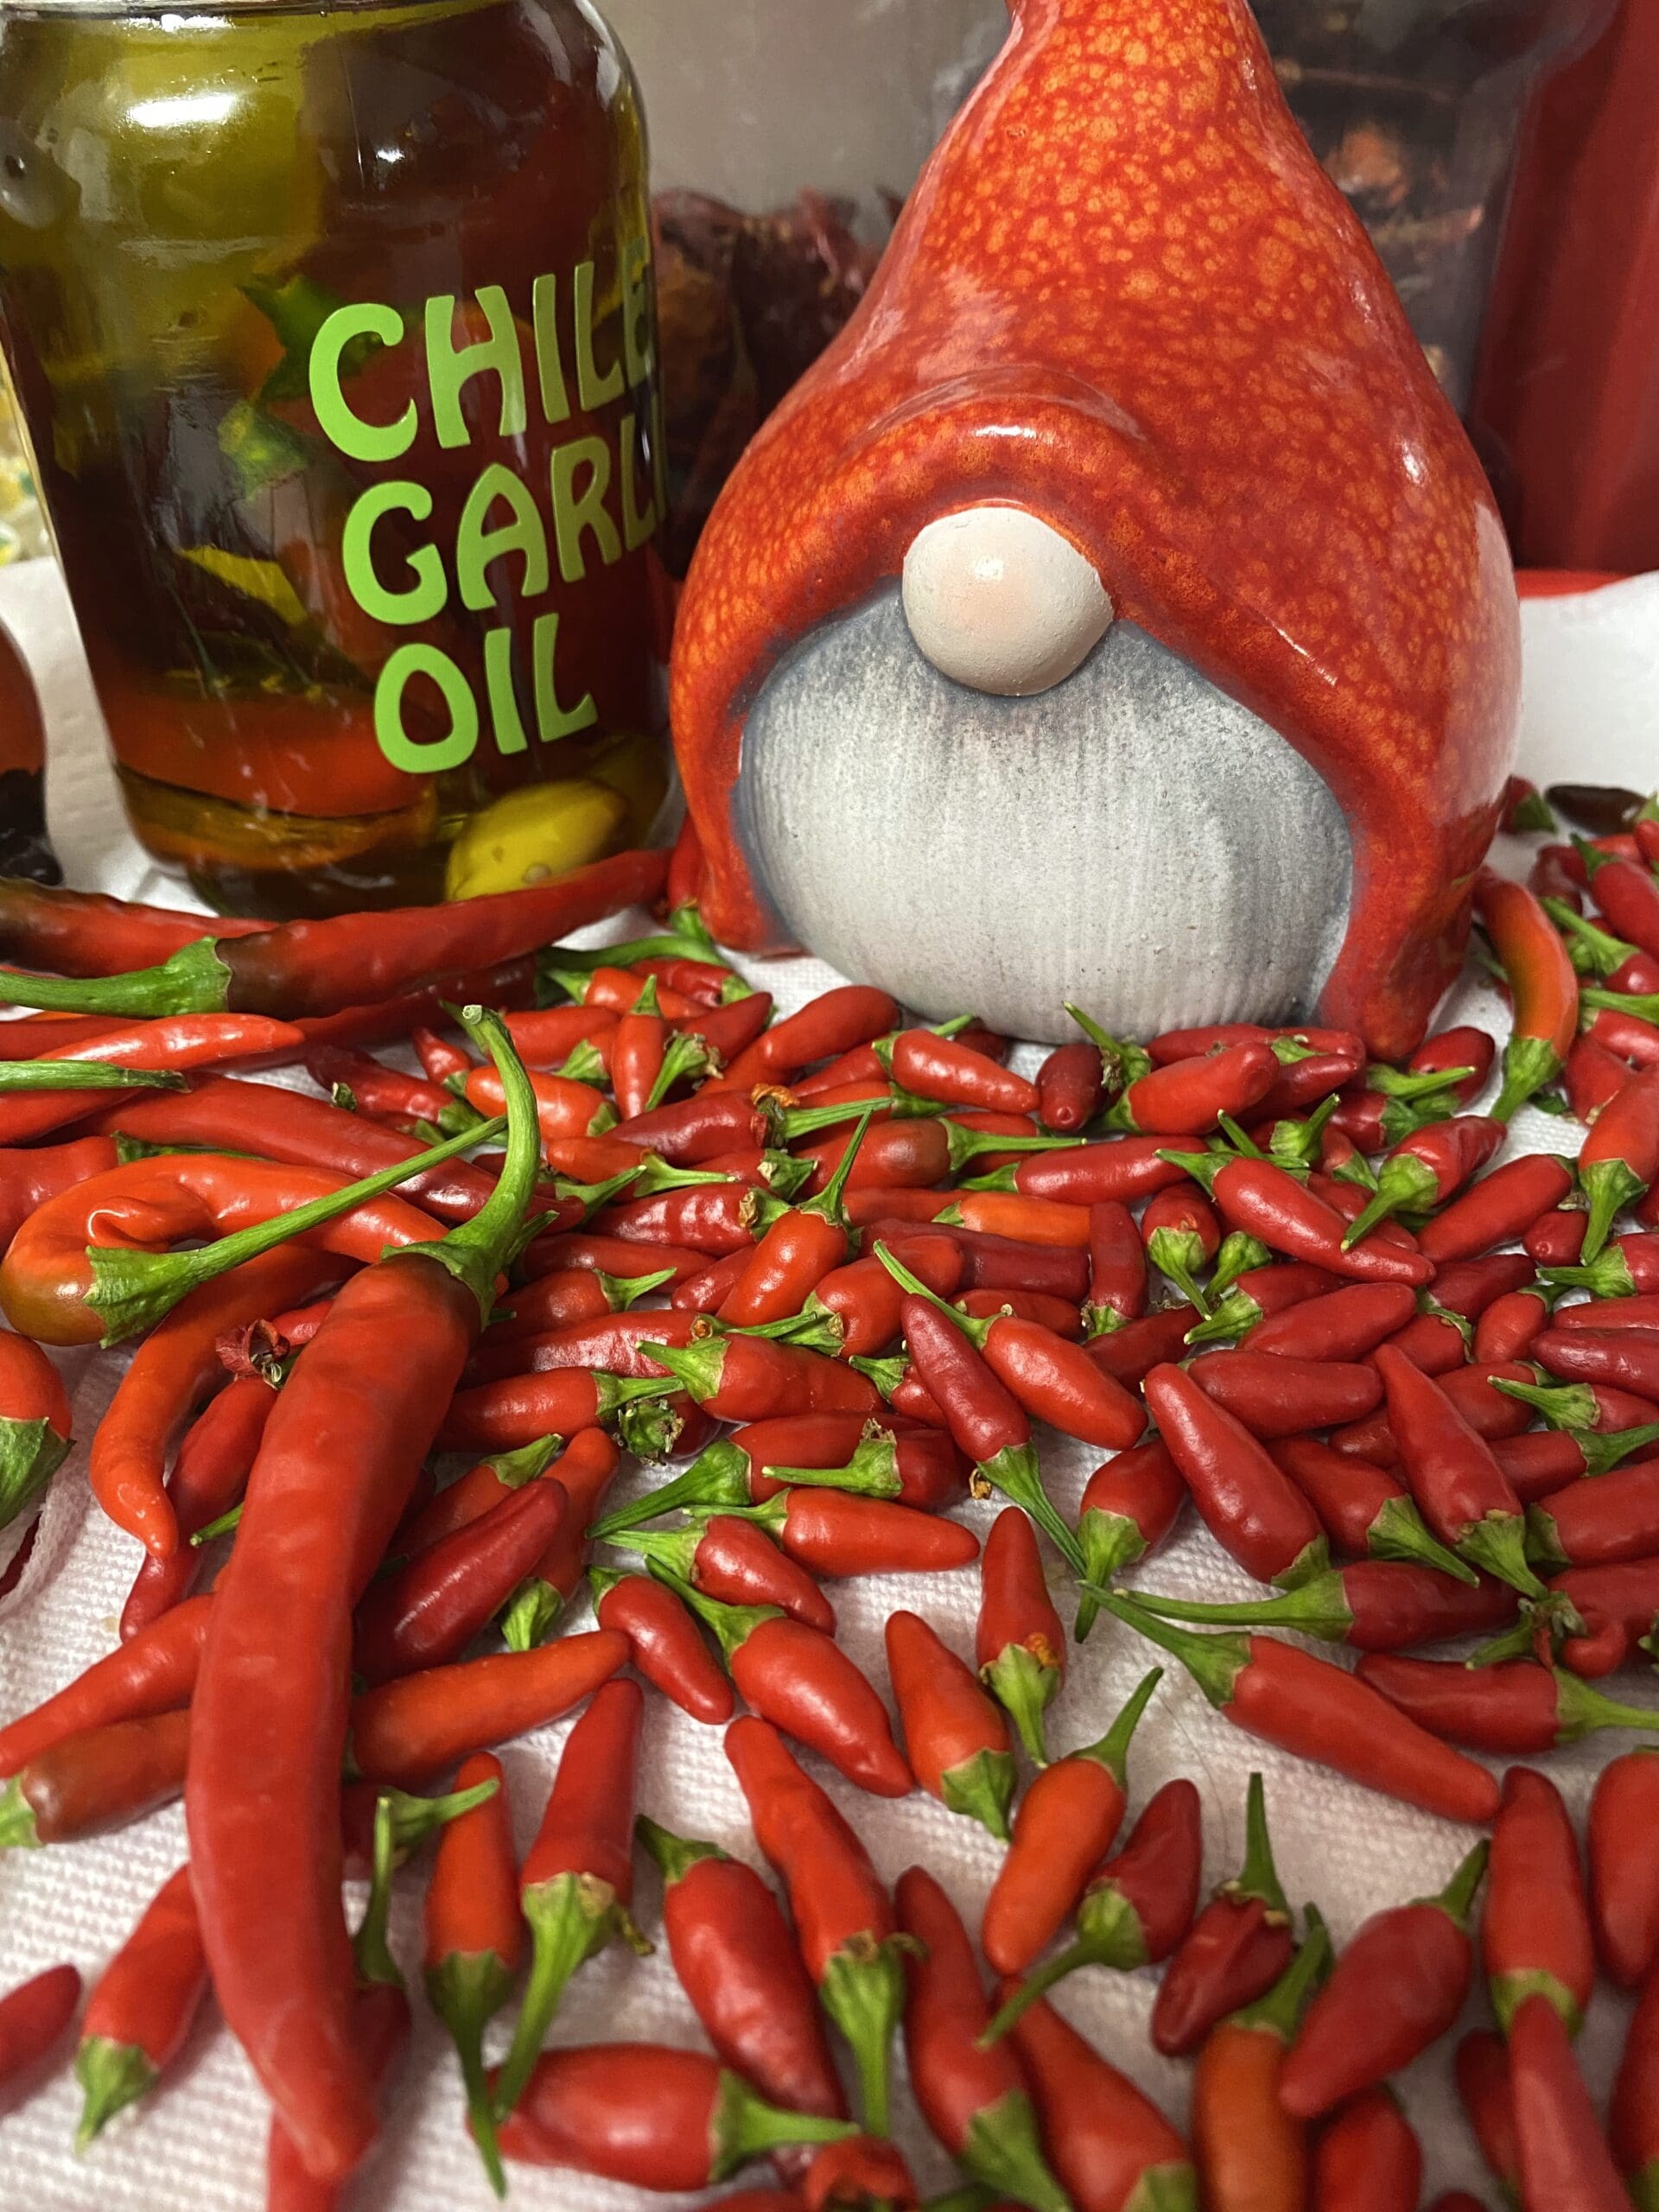
They don’t all ripen at once, of course. Just a handful here, a few more there. But that’s part of the fun. Some go straight into a freezer bag for our favorite Thai and Vietnamese dishes, while others gather in little baskets, waiting to be dried for another day’s culinary adventure.
Some like it HOT…but not THAT hot!
Yesterday I fired up our little dehydrator for its very first batch of Thai chilies. Before long, the kitchen was filled with the most wonderful spicy aroma reminiscent of a street food stall in Chiang Mai Thailand. Wonderful, that is, until our eyes started burning!
Apparently, there’s a fine line between filling your kitchen with delicious aromas and turning it into a pepper spray testing facility. The dehydrator has now been reassigned to the garage. Lesson learned!


About eight hours later, our peppers were beautifully dried, still a gorgeous brilliant red, and ready for their next adventure in the kitchen. Ihana our official pepper inspector WANTED these little burning beasts in the worst way but instead she got her very own sweet pepper as a treat.
A little word of caution for anyone tempted to try this: hot peppers can release some seriously irritating fumes during dehydrating. A well-ventilated space away from people and pets is definitely the way to go!
Saving a Little Summer Heat for Later
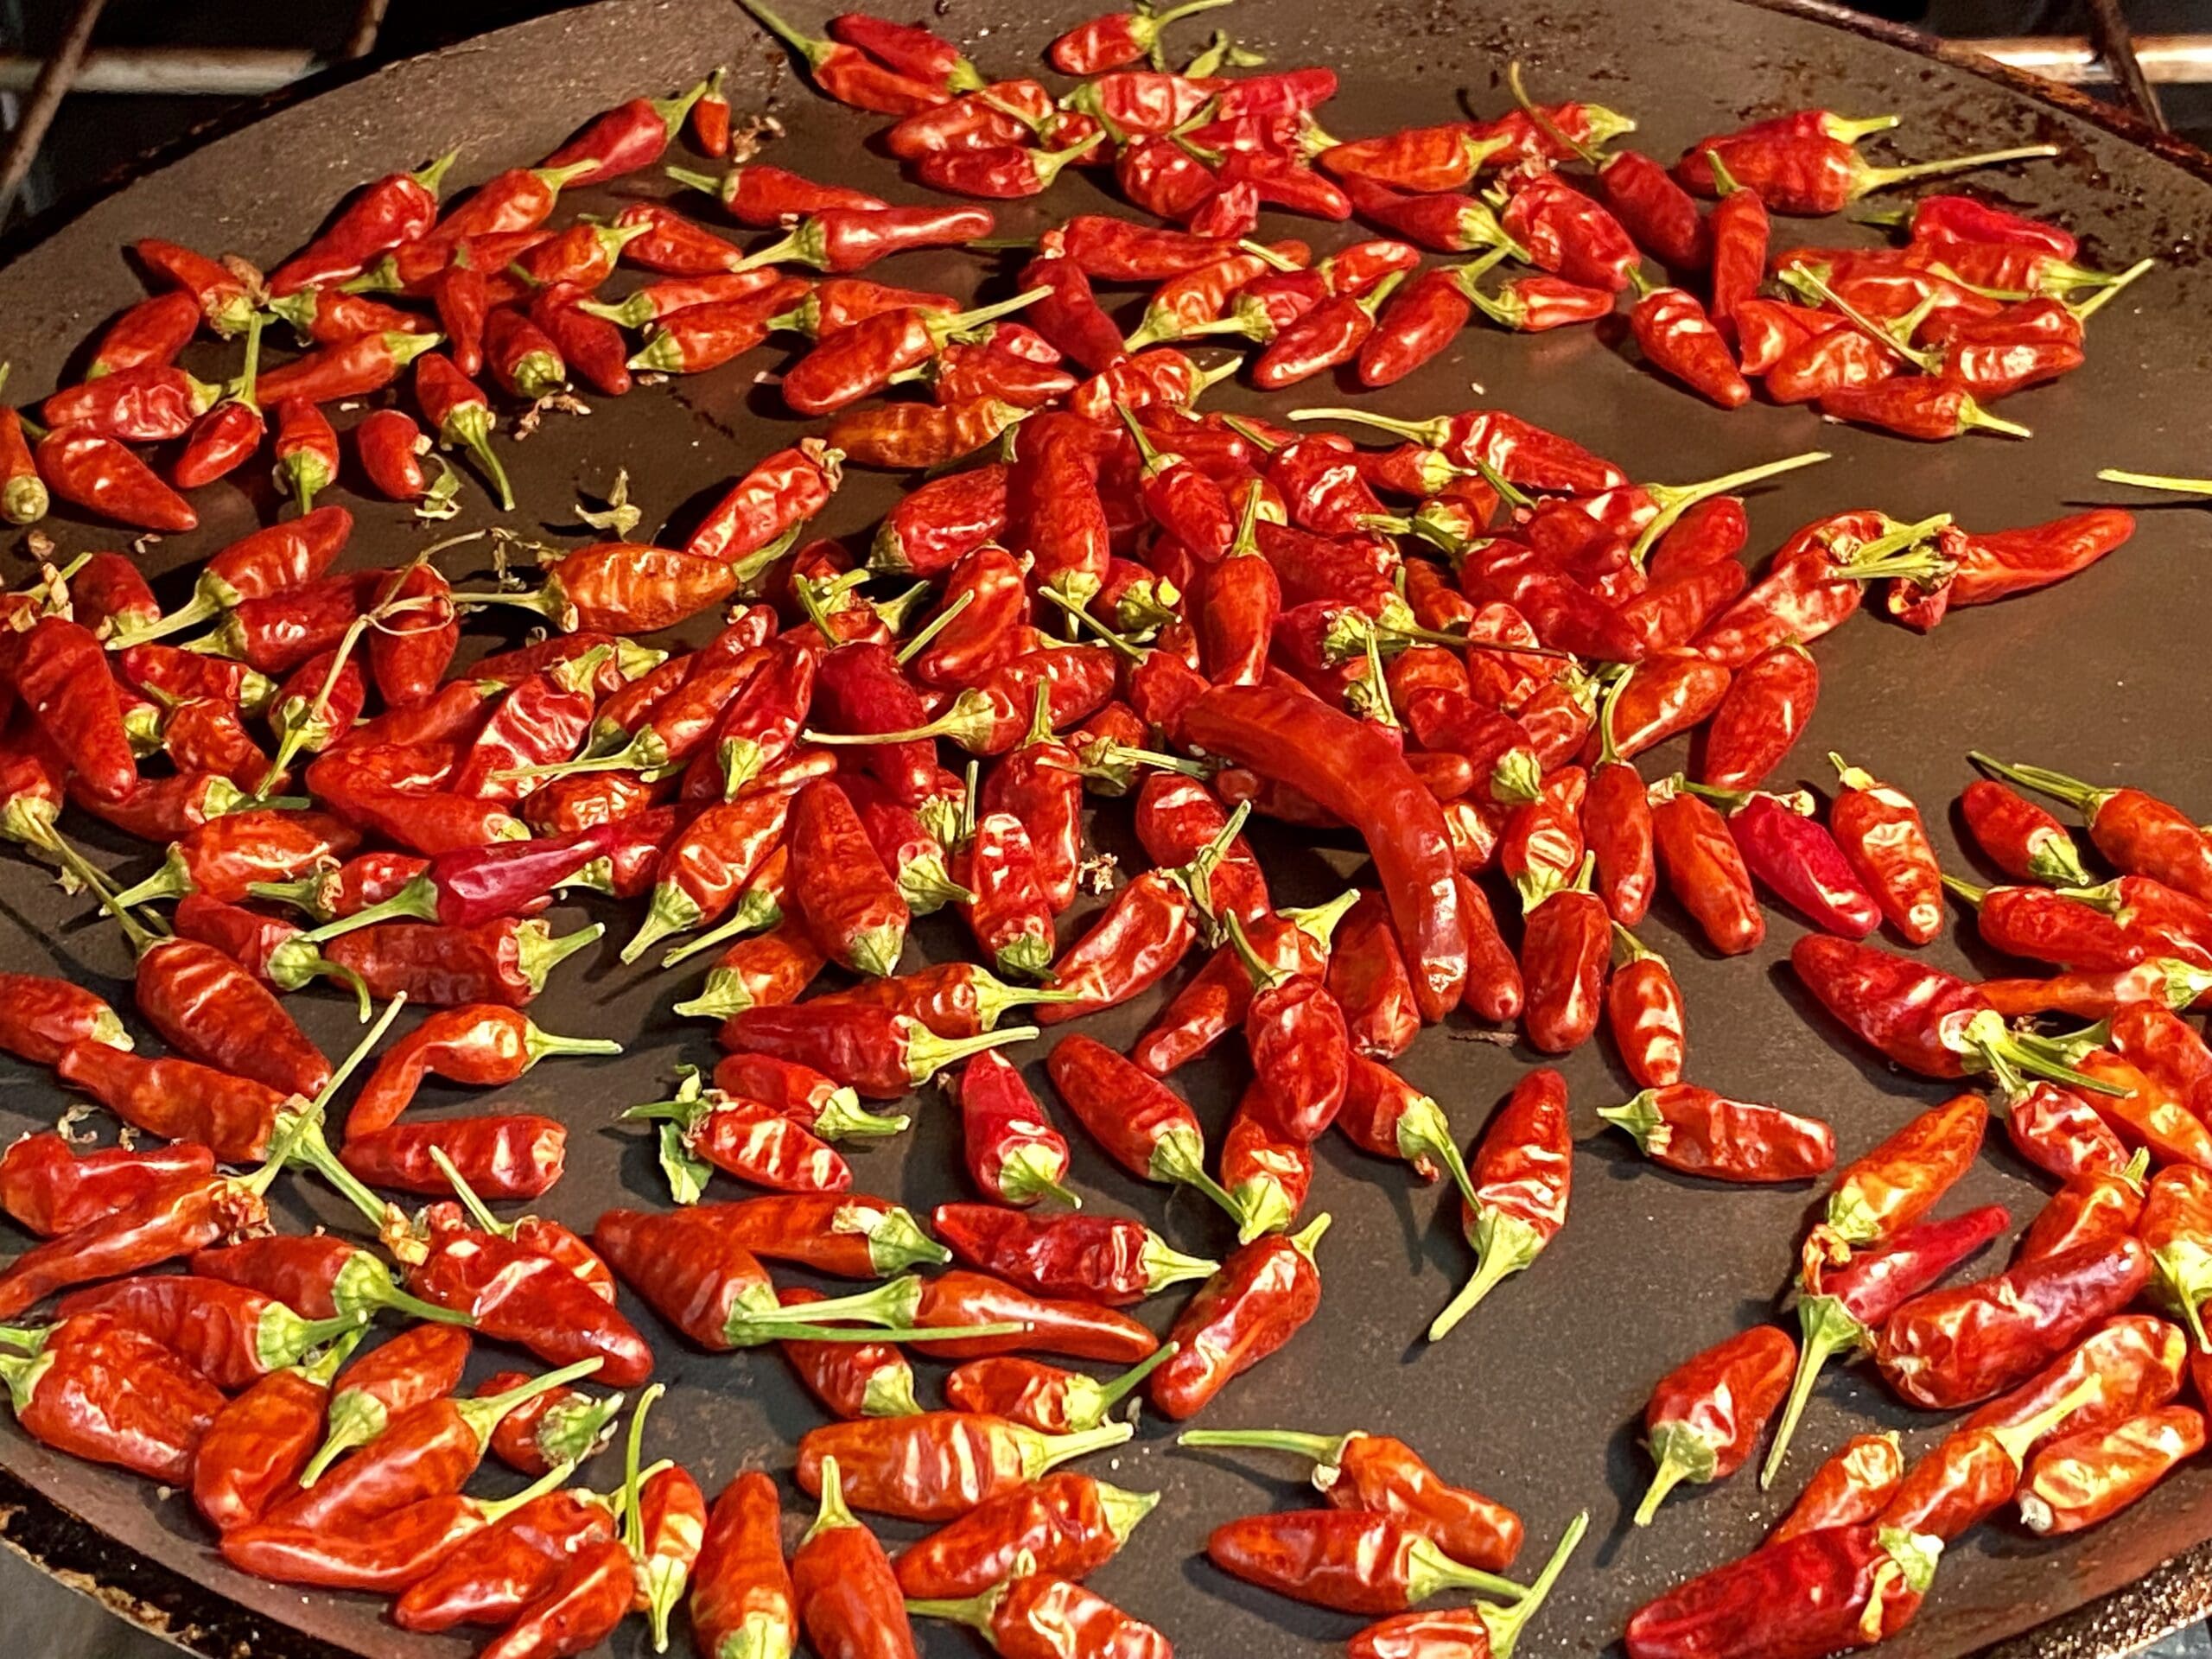
We cook quite a bit of Thai and Vietnamese food, and I’ve found that freezing these little peppers whole works almost as well as using them fresh. I simply add them to a freezer bag as they ripen, and they’re ready whenever we need a little heat.


The peppers destined for drying collect in small, airy baskets until I have enough to dry naturally or in the dehydrator. Once completely dried, they’re wonderful for Sichuan dishes and other spicy favorites.
It’s amazing how much flavor you can tuck away in such tiny packages! The seeds rattle when dry.
Putting the Peppers to Rest for the Winter
One more little garden trick I’ve learned along the way: Thai peppers are actually tender perennials, so they don’t necessarily have to be replaced every spring! I remove the leaves, prune the plants back to a couple of growing nodes above their first Y-shaped fork, and repot them with fresh soil.


ABOVE: Harvest complete! Our Thai pepper plants have been trimmed back, repotted, and are getting ready for a winter rest. Fingers crossed they’ll wake up ready for another fiery season!
Then it’s off to our cool garage for the winter, where temperatures hover around 50°F. With very little light and just enough water to keep them alive, they settle in for a long winter nap. This works well in our mild Pacific Northwest climate, although gardeners in colder regions would need a frost-free spot.
Come spring, they head back outside when it’s warm enough, and those bare little stems begin sprouting leaves again. Garden magic!
Nuoc Cham – A Little Heat for the Table

And what better way to enjoy our little firecrackers than in one of our favorite Vietnamese dipping sauces, Nuoc Cham
If you’ve ever enjoyed those crispy spring rolls at a Vietnamese restaurant and wondered about the wonderful sweet, tangy, slightly spicy dipping sauce served alongside them, this is it!
No need to make the spring rolls from scratch this time (although I have a homemade air fryer version pictured, coming your way soon!).
Just pick up a package of frozen Vietnamese-style spring rolls and prepare according to the package directions. I prefer the air fryer for that wonderful crispy crunch, but the oven works beautifully, too.
While they’re cooking, whip up a little bowl of Nuoc Cham, the classic Vietnamese dipping sauce.


NUOC CHAM – Vietnamese Dipping Sauce
Ingredients
- 3 tablespoons fish sauce
- 3 tablespoons fresh lime juice
- 3 tablespoons sugar
- ½ cup warm water
- 1 small garlic clove finely minced
- ½ –1 Thai chili pepper fresh or frozen
Instructions
- Stir the sugar into the warm water until completely dissolved. Add the fish sauce, fresh lime juice, and minced garlic, stirring to combine.
- Now for a little heat! I use kitchen scissors to snip tiny pieces of Thai chili directly into the sauce. This works beautifully with fresh or frozen peppers and makes it easy to control how much heat you’re adding. No chopping required!
- For a little extra color, add a pinch of finely grated carrot. It’s a pretty addition, especially when serving the sauce with spring rolls.
- Give everything a good stir, then taste and adjust the balance of sweet, salty, sour, and spicy to your liking. Let the sauce sit for 10–15 minutes so the flavors can mingle.
- A little tip from our kitchen: Thai chilies may be tiny, but they pack a mighty punch! Start with just a few snips. You can always turn up the heat! ??
Notes

Mastering a nuoc cham recipe opens doors to authentic Vietnamese cuisine that extends far beyond a single dish. Whether you’re preparing spring rolls, grilled meats, or noodle bowls, this versatile condiment elevates every meal. The beauty of a nuoc cham recipe lies in its simplicity and adaptability—adjust the heat, sweetness, or acidity to match your preferences and ingredients on hand. Once you’ve perfected your nuoc cham recipe, you’ll find yourself reaching for it constantly, transforming everyday meals into vibrant, flavorful experiences that capture the essence of Vietnamese cooking.


I would love to hear your pepper picks. Sweet, Hot, Pickled, ….etc!